Bracelets are a popular accessory that can add a touch of style and personality to any outfit. Making your own bracelets can be a fun and rewarding way to express your creativity and create unique pieces that reflect your personal style. DIY bracelet tutorials are a great way to learn new techniques and experiment with different materials to create one-of-a-kind pieces that you can wear or give as gifts to friends and family. Whether you’re a beginner or an experienced crafter, there are plenty of tutorials available online that can help you learn how to make a variety of bracelets using different techniques and materials. From beaded bracelets to leather wrap bracelets, there’s something for everyone to try their hand at.
Key Takeaways
- DIY bracelet tutorials offer a fun and creative way to make your own unique accessories.
- Beaded bracelet tutorials provide step-by-step instructions for creating beautiful beaded bracelets.
- Friendship bracelet tutorials teach you how to make colorful and meaningful bracelets to share with friends.
- Leather wrap bracelet tutorials show you how to create stylish and versatile leather wrap bracelets.
- Charm bracelet tutorials guide you through the process of making personalized charm bracelets with special meaning.
- Macrame bracelet tutorials offer a detailed guide to creating intricate and stylish macrame bracelets.
- Conclusion and tips for creating your own bracelets include advice on choosing the right materials and experimenting with different designs to make your bracelets truly one-of-a-kind.
Beaded Bracelet Tutorial
Beaded bracelets are a classic accessory that can be customized in countless ways to suit your personal style. To make a beaded bracelet, you’ll need a variety of beads in different shapes, sizes, and colors, as well as some jewelry wire, crimp beads, and a clasp. Start by cutting a piece of wire to the desired length for your bracelet, then string your beads onto the wire in the pattern of your choice. Once you’ve added all of your beads, use crimp beads to secure the ends of the wire, and attach a clasp to complete the bracelet. You can also add charms or pendants to your beaded bracelet for an extra touch of personalization. Beaded bracelets are a great way to experiment with different color combinations and bead shapes to create unique and eye-catching designs that you can wear with any outfit.
If you’re looking for a more advanced beaded bracelet tutorial, you can try making a multi-strand beaded bracelet or a beaded cuff bracelet. These designs require more beads and a bit more patience, but the end result is a stunning statement piece that will definitely turn heads. Multi-strand bracelets involve stringing multiple strands of beads together to create a layered look, while cuff bracelets are wider and wrap around your wrist for a bold and dramatic effect. With so many different bead shapes, sizes, and colors to choose from, the possibilities for beaded bracelet designs are endless.
Friendship Bracelet Tutorial
Friendship bracelets are a timeless symbol of friendship and are often exchanged between friends as a token of their bond. These bracelets are typically made from colorful embroidery floss or thread and are woven using various knotting techniques to create intricate patterns and designs. One of the most popular friendship bracelet patterns is the classic chevron pattern, which involves using different colored threads to create a zig-zag design. To make a chevron friendship bracelet, you’ll need several strands of embroidery floss in different colors, as well as some tape or a safety pin to hold the bracelet in place while you work.
To start, arrange your threads in the order you want them to appear in the bracelet pattern, then tie them together at one end and secure them to a flat surface with tape or a safety pin. Next, use various knotting techniques such as forward knots and backward knots to create the chevron pattern, alternating between the different colored threads as you go. Once you’ve reached the desired length for your bracelet, tie off the ends and trim any excess thread. Friendship bracelets are a fun and meaningful way to show someone you care, and they make great gifts for friends and loved ones.
For those looking for more advanced friendship bracelet tutorials, there are endless patterns and designs to explore, including diamond patterns, heart patterns, and even alphabet patterns that allow you to spell out words or names in your bracelets. With so many different knotting techniques and color combinations to try, making friendship bracelets is a great way to hone your crafting skills and create beautiful handmade accessories that hold sentimental value.
Leather Wrap Bracelet Tutorial
“`html
| Step | Description |
|---|---|
| 1 | Measure and cut the leather cord to desired length |
| 2 | Attach the clasp to one end of the leather cord |
| 3 | String the beads onto the leather cord |
| 4 | Secure the other end of the clasp to the leather cord |
| 5 | Trim any excess cord and secure the ends |
“`
Leather wrap bracelets are a stylish and versatile accessory that can add a touch of bohemian flair to any outfit. These bracelets are typically made from leather cord or strips of leather that are wrapped around the wrist multiple times to create a layered look. To make a leather wrap bracelet, you’ll need some leather cord or strips, as well as some beads or charms to embellish the bracelet if desired. Start by cutting a piece of leather cord to the desired length for your bracelet, then add beads or charms to the cord if you’d like to incorporate them into your design.
Next, wrap the leather cord around your wrist multiple times, making sure to leave enough slack for the bracelet to fit comfortably. Once you’ve wrapped the cord around your wrist, use a button or clasp to secure the ends of the cord together and complete the bracelet. Leather wrap bracelets can be customized in countless ways by adding different beads, charms, or even braiding the leather cord for added texture and visual interest. These bracelets are perfect for adding a touch of bohemian style to your look and can be worn alone or stacked with other bracelets for a trendy layered effect.
For those looking for more advanced leather wrap bracelet tutorials, there are plenty of techniques to explore, such as adding metal or gemstone embellishments to the bracelet or experimenting with different types of leather cord for added texture and visual interest. Whether you prefer a simple and understated design or something more elaborate and eye-catching, leather wrap bracelets are a versatile accessory that can be customized to suit your personal style.
Charm Bracelet Tutorial
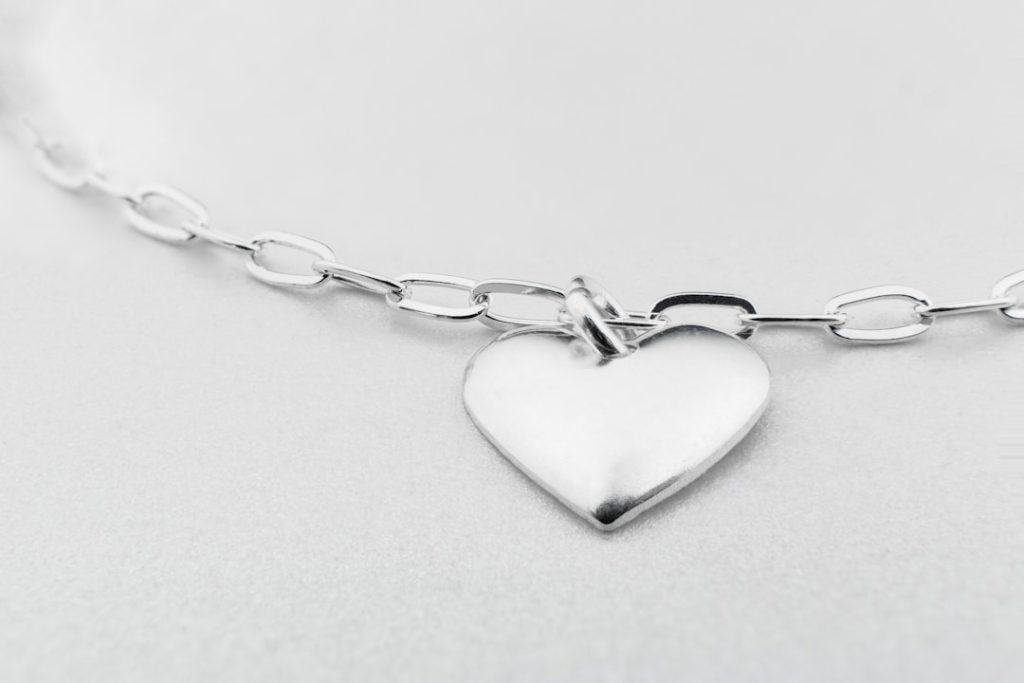
Charm bracelets are a timeless accessory that allows you to create a personalized piece of jewelry by adding charms that hold special meaning or significance to you. To make a charm bracelet, you’ll need a chain bracelet base, as well as an assortment of charms that reflect your interests, hobbies, or memories. Start by selecting a chain bracelet in the metal of your choice, such as silver, gold, or rose gold, then add jump rings to the links of the chain where you want to attach your charms.
Next, select your charms and use jump rings to attach them to the links of the chain bracelet. Charms can come in all shapes and sizes, from simple metal shapes to intricate designs with gemstone embellishments, so you can mix and match different charms to create a unique and meaningful piece that reflects your personal style. You can also add spacer beads or dangles between the charms for added visual interest and movement. Charm bracelets are a great way to showcase your personality and create a piece of jewelry that tells a story through the charms you choose to include.
For those looking for more advanced charm bracelet tutorials, there are endless ways to customize your design by adding engraved charms with initials or dates, birthstone charms that represent special occasions or loved ones, or even creating themed charm bracelets based on hobbies or interests such as travel, music, or animals. Whether you prefer a minimalist design with just a few meaningful charms or a more elaborate design with multiple charms and dangles, charm bracelets are a versatile accessory that can be customized in countless ways.
Macrame Bracelet Tutorial

Macrame bracelets are a popular accessory that is made using various knotting techniques to create intricate patterns and designs using cords or threads. To make a macrame bracelet, you’ll need some macrame cord or embroidery floss in different colors, as well as some beads if you’d like to incorporate them into your design. Start by cutting several strands of cord or floss to the desired length for your bracelet, then secure them together at one end with tape or a safety pin.
Next, use various knotting techniques such as square knots, half-hitch knots, or spiral knots to create patterns and designs with the cords. You can also add beads to your macrame bracelet by stringing them onto the cords before tying the knots, creating unique patterns and textures within the design. Once you’ve reached the desired length for your bracelet, tie off the ends and trim any excess cord or floss. Macrame bracelets are a great way to experiment with different knotting techniques and color combinations to create unique and eye-catching designs that you can wear with any outfit.
For those looking for more advanced macrame bracelet tutorials, there are endless patterns and designs to explore, including chevron patterns, diamond patterns, or even incorporating more complex knotting techniques such as micro-macrame for added intricacy and detail. With so many different knotting techniques and color combinations to try, making macrame bracelets is a great way to hone your crafting skills and create beautiful handmade accessories that showcase your creativity.
Conclusion and Tips for Creating Your Own Bracelets
In conclusion, DIY bracelet tutorials are a great way to learn new techniques and experiment with different materials to create unique pieces that reflect your personal style. Whether you’re interested in making beaded bracelets, friendship bracelets, leather wrap bracelets, charm bracelets, macrame bracelets, or any other type of bracelet, there are plenty of tutorials available online that can help you get started on your crafting journey.
When creating your own bracelets, it’s important to have fun and experiment with different materials and techniques to find what works best for you. Don’t be afraid to mix and match different colors, shapes, and textures to create one-of-a-kind designs that reflect your personality and style. Additionally, don’t be afraid to challenge yourself with more advanced tutorials as you become more comfortable with different crafting techniques.
Remember that practice makes perfect, so don’t get discouraged if your first few attempts don’t turn out exactly as planned. Crafting is all about learning and growing as an artist, so embrace the process and enjoy the journey of creating beautiful handmade accessories that you can wear with pride or give as thoughtful gifts to friends and loved ones. With so many different types of bracelets to explore and endless possibilities for customization, there’s no limit to what you can create with DIY bracelet tutorials.
If you’re looking for more inspiration and ideas for DIY bracelet tutorials, be sure to check out the article “10 Unique DIY Bracelet Ideas” on Axion Bracelets. This article offers a variety of creative and unique bracelet designs that you can easily make at home. Whether you’re a beginner or an experienced crafter, you’re sure to find something that piques your interest and gets your creative juices flowing. Happy crafting!
FAQs
What are DIY bracelet tutorials?
DIY bracelet tutorials are step-by-step guides that provide instructions on how to create your own bracelets at home. These tutorials often include a list of materials needed and detailed instructions on how to make the bracelet.
What materials are typically used in DIY bracelet tutorials?
Materials commonly used in DIY bracelet tutorials include beads, charms, string or wire, clasps, and various types of jewelry findings. The specific materials needed will depend on the type of bracelet being made.
Are DIY bracelet tutorials suitable for beginners?
Yes, there are DIY bracelet tutorials available for all skill levels, including beginners. Many tutorials provide clear and easy-to-follow instructions, making it possible for beginners to create beautiful bracelets.
Where can I find DIY bracelet tutorials?
DIY bracelet tutorials can be found in various places, including craft websites, blogs, YouTube channels, and social media platforms. There are also books and magazines dedicated to jewelry making that may include bracelet tutorials.
What types of bracelets can be made using DIY tutorials?
There are a wide variety of bracelets that can be made using DIY tutorials, including beaded bracelets, charm bracelets, friendship bracelets, macramé bracelets, and more. The possibilities are endless, and there are tutorials available for many different styles and techniques.
